


If you don’t put a bit of work into outfitting your kayak, you’re never going to get the level of performance that you deserve out of it. It doesn’t matter if you are getting on moving water for the first time or if you are a whitewater veteran charging down tight, technical rapids; making sure that your boat fits you well will make a massive difference. You will be able to feel the feedback from the water better, control your direction and respond to changes in the water easier, and transmit all your effort effectively into your boat when driving it towards the lip of that drop.
Here is my simple “programme” to help you get the most out of your outfitting:
- Location, Location, Location
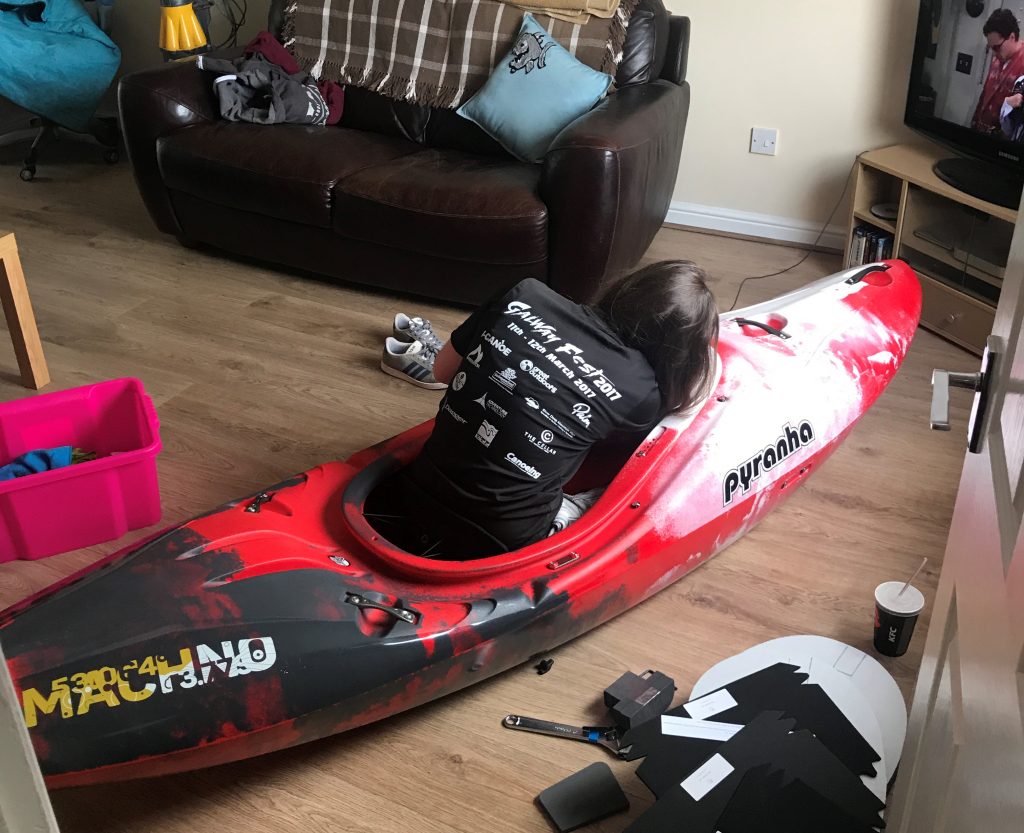
Firstly, get your boat somewhere comfortable! You want to be able to spend a bit of time working on your boat to get it right. Keeping with a tradition I started when I was 15, I always outfit my kayak in my front room, but where you choose is up to you. Just make sure it’s somewhere you don’t mind spending a bit of time so you won’t be encouraged to rush it. Outfitting your boat should be fun, so take some time to chill out, stick your favourite tunes on, put a kayak film on the TV, and get yourself ready.
- Stick the Kettle On
Most kayak outfitting sessions will typically take me a couple of cups of tea! Put the kettle on, get out any tools that you need, get your foam, scissors, knife, and anything else you think you might need ready. Once you’re set up with your tea and tools, have a think and make a plan of all of the things you need to adjust.

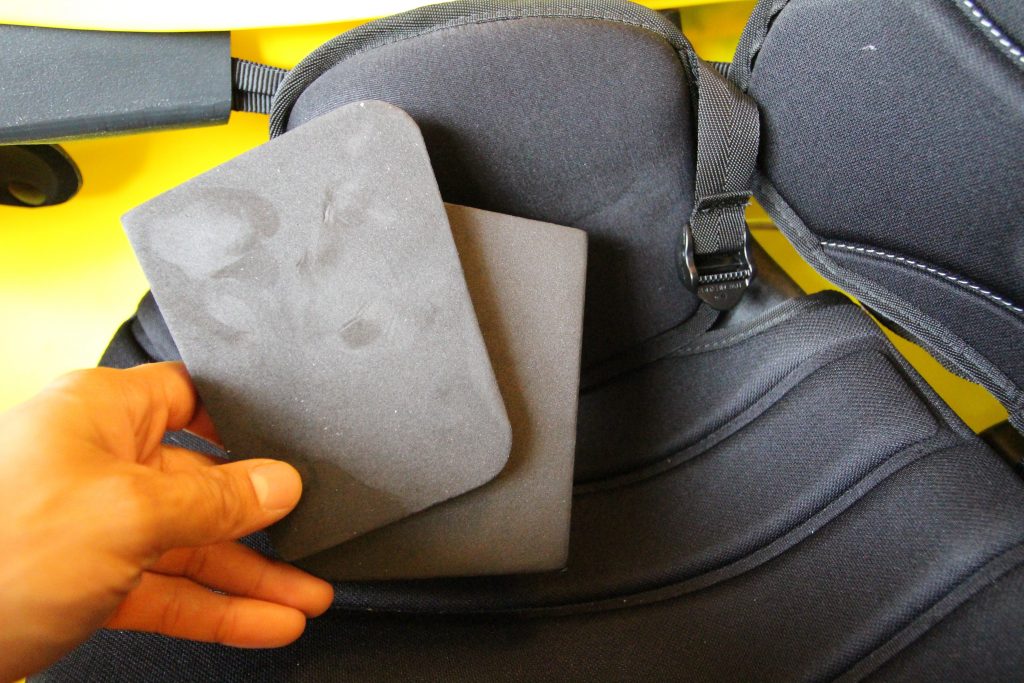
- Sort that Seat Out
Everyone will start at a different point with their outfitting and it probably doesn’t make too much difference, but I tend to start with my seat height. For me this is one of the most overlooked aspects of outfitting, and one that can make a massive difference to your performance. As a reference point, I typically try and get the tops of my hips to be level with the cockpit rim; I’m not the tallest person, so this will always mean putting some foam shims underneath the seat liner to raise me up. Once I am in that higher position, I will have more dynamic control over the edges of my boat, better control when boofing, and a nicer position for forwards paddling and driving the boat.
- Brace Yourself
This will vary from person to person and boat to boat. I usually try and move my thigh braces into the furthest back position that I find comfortable, as I typically find this gives me the best performance. Depending on the boat, you will probably find that your knees will touch the side of the kayak too (or be close to it); it is worthwhile considering adding some padding into that area as it’s not uncommon for your knees to impact the side of the kayak should you hit a rock. Some paddlers even add in foam blocks for your knees to sit on which give even better connectivity. This can have a huge benefit in terms of performance but just remember to check you can get out too.
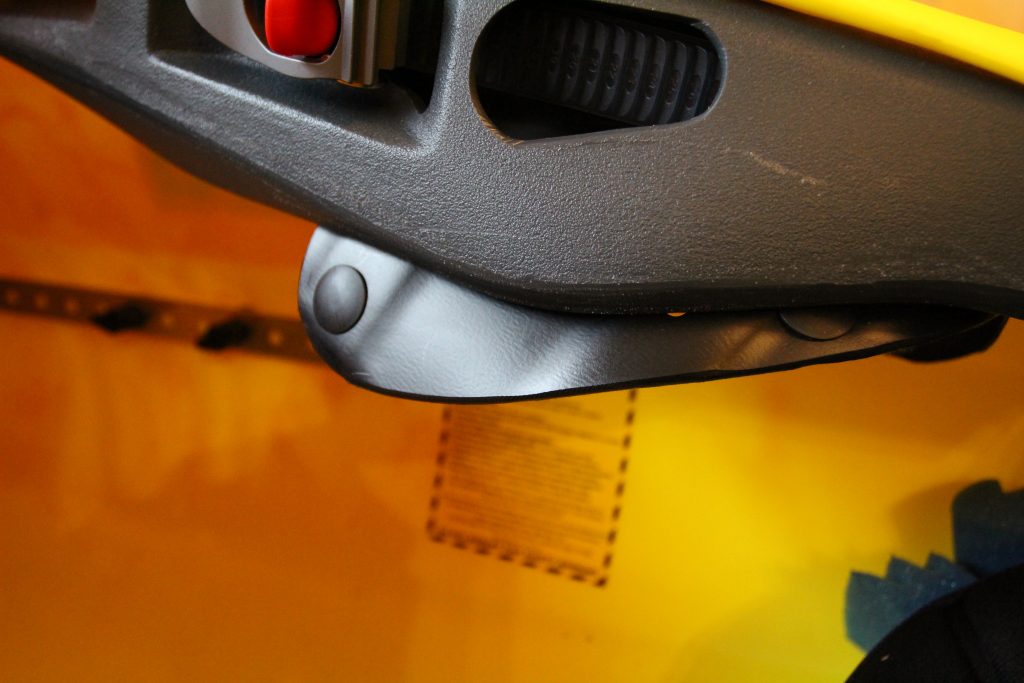
 Another great optional addition for the latest Pyranha boats is the “hooker” thigh braces. I’ve loved having these in my boat recently and they allow you to transmit force much better with your thighs when you need to, giving better overall control of your boat.
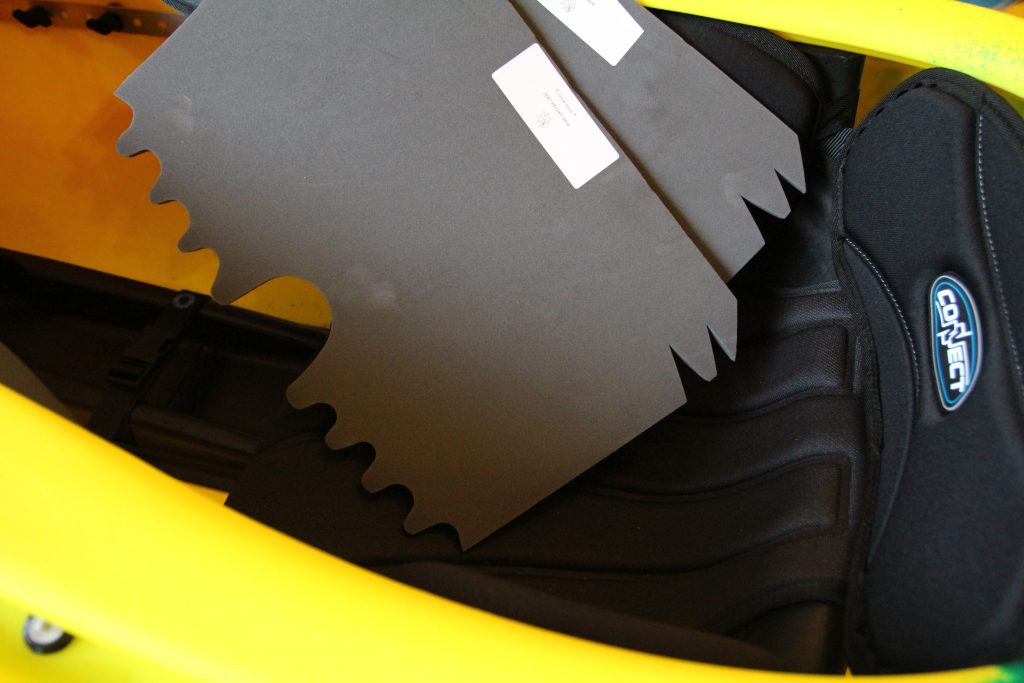
- Your Hips Don’t Lie
Surely I don’t need to tell you to sort out your hip padding? Paddling a whitewater kayak is dynamic and we are often holding our boat on an edge and moving laterally through the water, so a bit of connection with the boat in this area is critical. They will also stop your bum from moving around on the seat and keep you central in the kayak. Hip pads are anatomically shaped, so you should be able to get a good fit there, once again improving your potential performance. Add enough of the hip pad shims (in your outfitting pack) to make sure you are snug at the hips, but do be aware of getting it too tight as that can cut off your blood supply and make your legs and feet go numb!
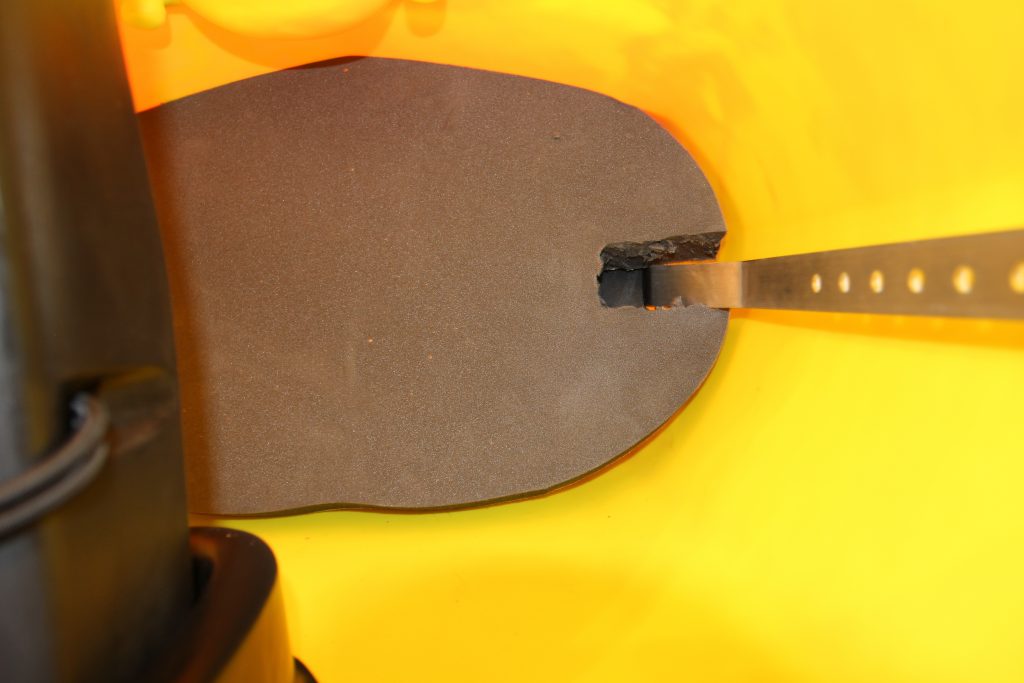
- Sort Your Feet Out
Now this is an important one for two main reasons, performance but also safety. When you are driving your boat forwards you need to be able to push on the footblock, effectively transferring your energy into the kayak and making it go when you want it to go! It is essential that you use the foam that comes with your kayak to pad out the plastic footblock (or if you’re in a playboat to make a solid foam block) so that your footrest can absorb more force in the event of an impact and you don’t risk damaging your footblock or yourself, as well . Once you’ve got the foam on the plastic footblock, adjust the footrest so that it is comfortable for you to be able to push on with at least your toes and balls of your feet. For some people their heels sit away from the footrest, so it can be a good idea to add in an extra block of foam, specifically for your heels to rest on. Of course, do all of this wearing your river shoes or it won’t feel the same as it will do out on the water.
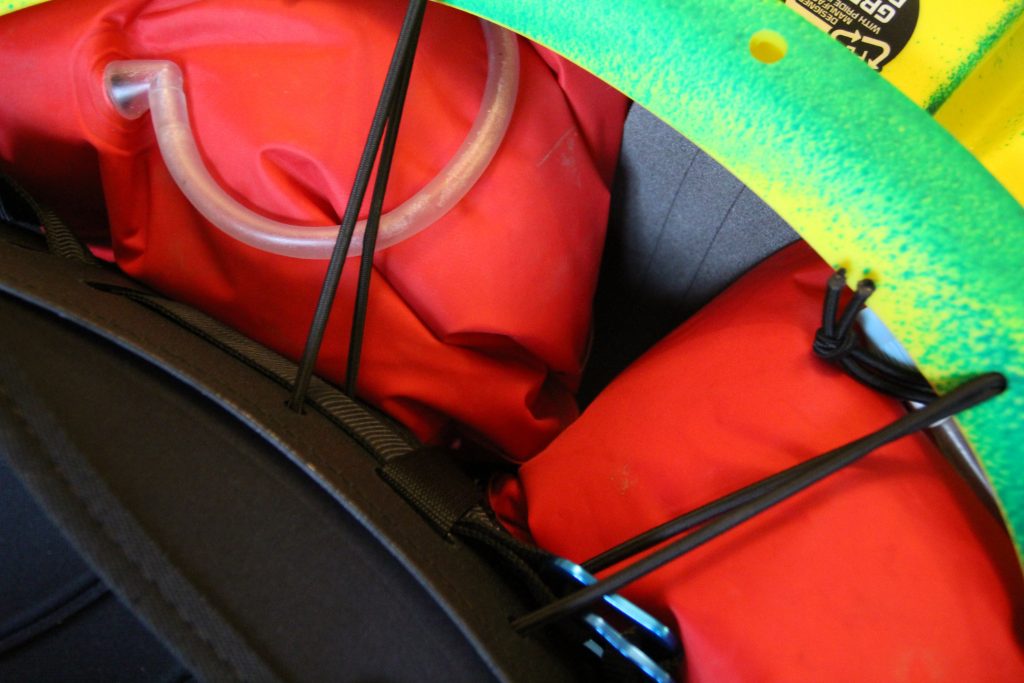
- Stick Some Airbags In!
It always amazes me how many paddlers are willing to spend £££$$$s on a kayak, but won’t spend just a bit more to get some airbags for their boat. Everyone swims from time to time and trust me, airbags are worth it. They make your boat easier to rescue and help protect your boat from damage when it’s floating down the river without you. It’s also worth putting some airbags in the bow of your kayak in front of the footrest, as this will make it float higher and flatter in the water and means there is less water to empty out too.
- Every Little Helps
Everyone has the final little touches that they make to finish off their outfitting, whether it is putting a name tag somewhere, writing your phone number in the kayak, adding cord to keep your airbags securely in your boat, or even just putting some stickers on! You also might want to make sure that your boat is set up to carry things like your throwbag and water bottle. You probably want these easily accessible so check that everything fits as you want it to in your kayak. I often add in a little bit of extra bungee to keep my water bottle really secure on harder whitewater.
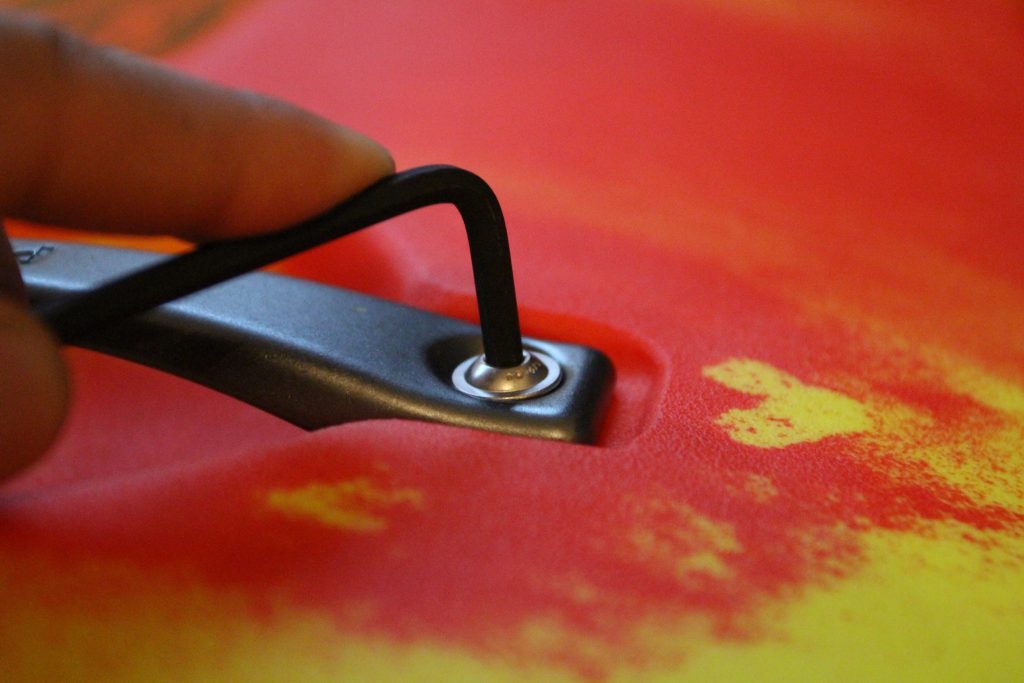
- Safety Check
Finally, it’s worth spending an extra 2 minutes to check the tightness of all of the bolts and fittings in your boat. This is especially important if you have bought the boat second hand, but to be honest I do it on every kayak. At the end of the day, when I’m halfway down a hard rapid I don’t want anything working loose. It’s my boat, I’m paddling it, it’s my responsibility.
- Take a Break (in your kayak)
So, at this point you should be just about there. I did say that this process usually involved more than one cup of tea, so stick the kettle back on and sit in your boat while you finish off your drink/film/music. This will help you to get a feel for what your boat is going to be like once you’ve sat in it for a little while. If you haven’t done already, it would be worth putting your regular kayaking kit on, so you can see what the outfitting will feel like for real.
- The Best Part
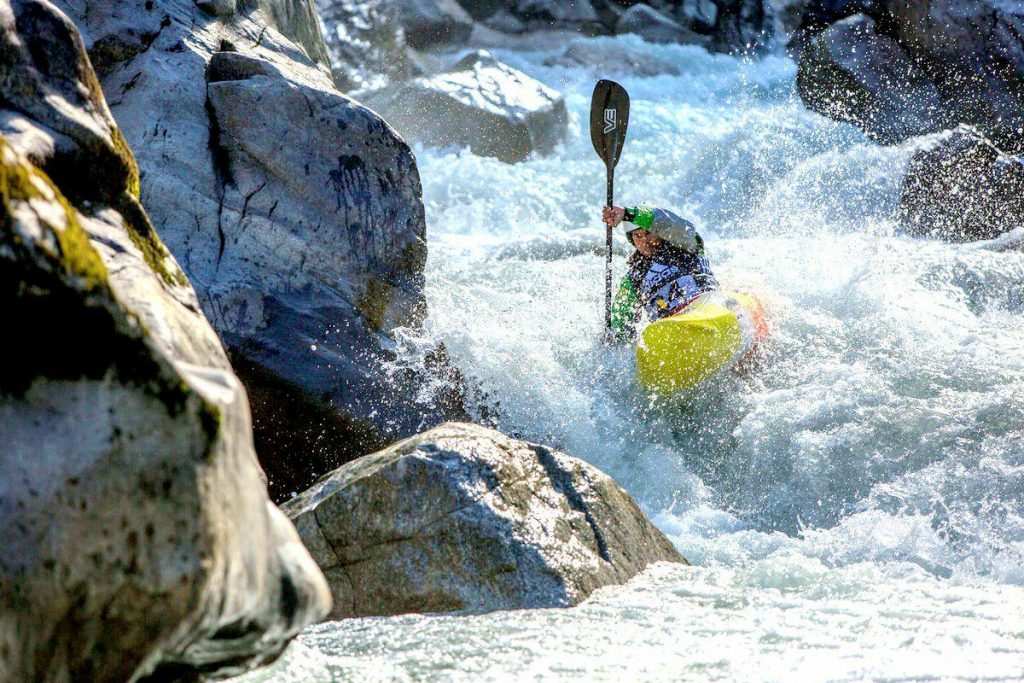
Ultimately, there is no better test of your outfitting job than actually going paddling (which is the fun bit after all!) You may find after getting out on the water that your outfitting doesn’t feel quite as you expected, you may need to add a little bit of padding here and there, but you also might need to take some away. Try not to just make do with something you know isn’t right because it’s easier than fixing it, take your boat home and get it sorted!
- Long Term Love!
Depending on your usage, your kayak will probably require a bit of ongoing loving as far as your outfitting goes. Kayaks generally require very little maintenance, but it is worthwhile doing some checks periodically. Over time, the foam in your outfitting will compress a little, and you’ll likely wear fewer layers in the Summer months, so the outfitting job you do now might not be as snug in 6 months’ time. Remember to also check all the nuts and bolts in your boat regularly too, as paddling and vibrations from transport can cause them to loosen.
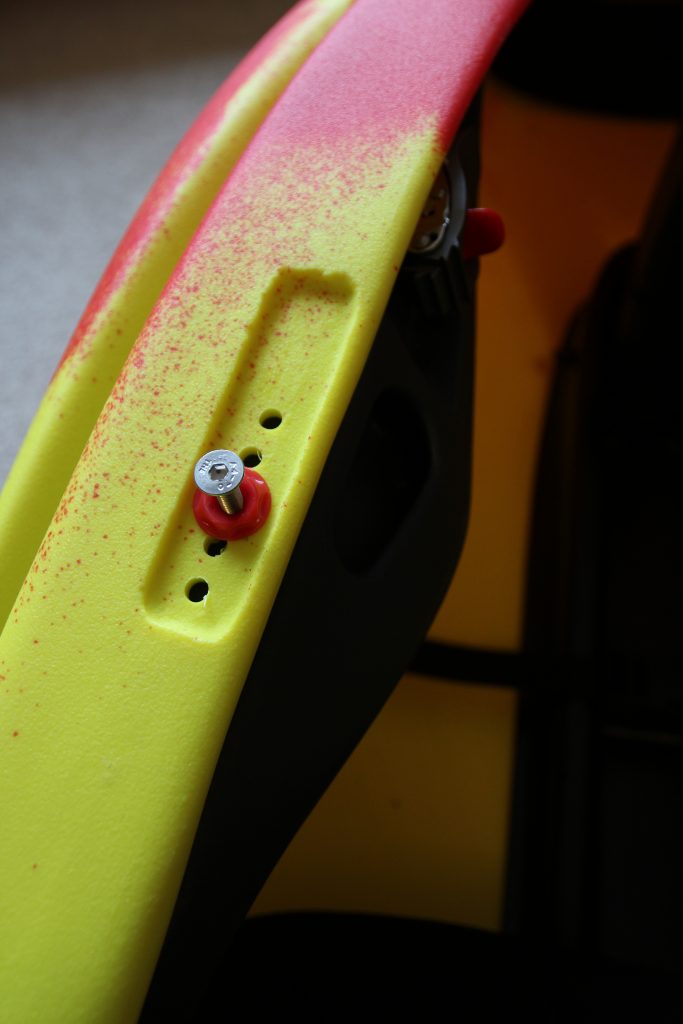
One final thing to be aware of is that you potentially may need to adjust the trim of your kayak. This is a simple job of removing the bolts that hold your seat in on the edge of your Pyranha kayak and then moving the seat either forwards or backwards and then putting the bolts back in place. Remember that if you move your seat, you will most likely need to change your footrest and thigh brace position too. If you feel like your boat isn’t performing quite as you would expect, playing around with the trim of the kayak might be the thing that really makes the difference.
Once you’ve done all that your boat should be good to go! Happy Paddling!